 Hi folks and happy happy summery day! I come to you today with something I’ve meant to post for over a week. Sometimes I am just not good at settling for ‘good enough’ instead of reaching for perfect, at least when it comes to my writing. So, here it is and I hope you like it, even if it doesn’t help with your Memorial Day barbecue.
And, here’s a little habit-changing inspiration. This almond creamer is the result of accidentally going completely off dairy. I discovered something about changing habits with my recent bout of flu, Mexico trip, and this little experiment. You can change a lot of habits simply by shaking up your routine and letting yourself feel off balance. Let yourself run out of your favorite slightly toxic beauty product and you may find yourself more easily replacing it with a healthier version. Let yourself run out of cream and you might find a way to make almond milk more satisfying. Don’t buy chocolate at the store, and hey, how can you reach for it after dinner? Just a thought.
Ok, lets be clear, I’m not completely dairy free. I’ll occasionally make a goat cheese or sheep’s milk pecorino frittata. But while I can digest milk, I consider it a treat, and more of a garnish than a main factor in a meal. Dairy, especially conventional dairy, just isn’t a health promoter in my mind.
It’s a lot easier to avoid dairy now than when I first tried about 12 years ago. There are amazing cashew ice creams and nut based cheeses and more. And now I’m pretty great at making these things myself. I almost never feel deprived.
Except when it comes to my coffee. I typically use a couple of tablespoons of organic half and half a day in my one cup of coffee or tea at 5 am. Yeah, it’s an indulgence, but 5 am on a NYC winter morning requires a little indulgence! Since I’m not vegan, that small amount of super deliciousness seemed reasonable for me. But recently I ended up going completely off dairy, almost by accident. While in Mexico with my family there was no good, healthy organic cream available (at least that we could find) and I drank my coffee black. Then I went off coffee completely for a while. So while bringing back my one cup of coffee or tea a day, I decided to try to keep the dairy-free thing going. It’s those daily habits, not the occasional indulgences, that add up over time. So I wondered how I’d feel keeping my morning routine plant-based but allowing in a little high quality goat or sheep cheese while dining out.
The problem is I’ve never really found a plant based creamer worthy of my morning coffee and my evening Teechino. No way no how. It didn’t exist. Those processed boxed creamers and milks are too watery, and can contain more processed ingredients than I’d want to consume daily. And canned coconut milk just makes it taste like coconut. Not my preferred regular flavor. I’ve tried to make really thick cashew milk in the past. I find cashews make the most neutral-flavored milk. But since there’s so little pulp to strain out of cashew milk, it has a habit of thickening in hot liquid, much like a roux would do. At least when I make it thick and creamy enough to lighten coffee. Clumpy coffee? Ick. And I’ve never totally loved homemade almond milk as a creamer. It’s just so…almondy. Sometimes bitter and tannic too.
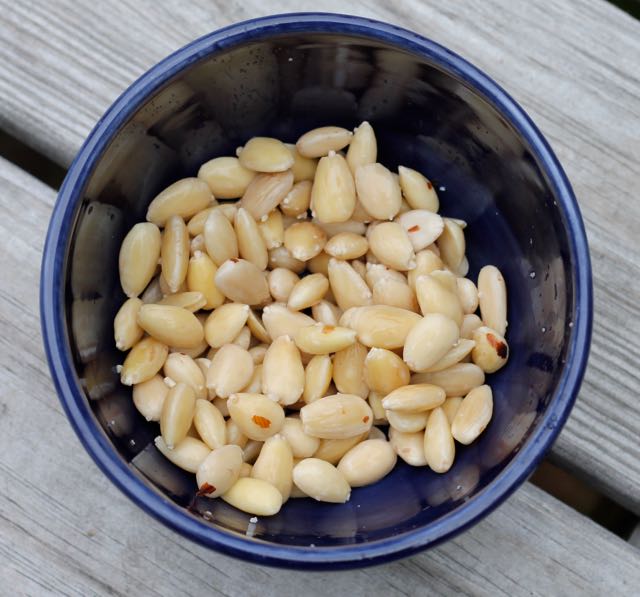
So a few weeks ago I happened upon a blog post that changed the game for me. Ashley at the beautiful blog Edible Perspective discovered, somewhat by chance, that blanching your almonds first makes for a super-silky, non-bitter, non-tannic milk. It was a big ‘aha’ moment for me too!

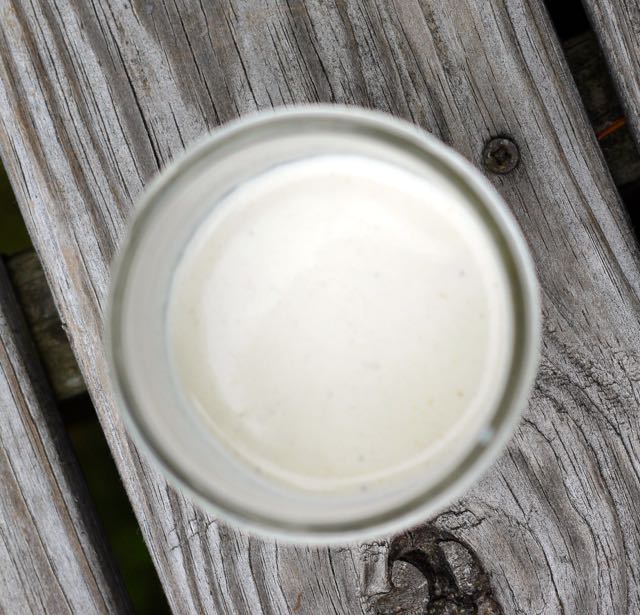
I took the idea and ran with it, decreasing the water by a lot, adding a little coconut oil to help it emulsify (no, you won’t taste that in the finished product). And guess what? It’s amazing. I haven’t bought cream in weeks! It lightens coffee, tea, teechino and hot cocoa really well, so you don’t have to use a lot (and it won’t make your beverage cold).
I experimented with other nuts too, and I still like the almond best. Pecans and walnuts are a little obvious in the final milk. A small amount of cashews seem to help neutralize the flavor, but again, they changed the consistency and weirdly, the cream seemed to sour rather fast. Almond for the win!
And, here’s a fun tip: when you want a full glass of almond milk or want to make a smoothie or chia pudding, add 2-3 tablespoons of the creamer to a cup of water and stir. That way you don’t have to make both ‘milk’ and ‘cream.’
I can’t believe I’ve never tried this before. But I’m so glad I finally did. Thanks Ashley for the idea.
Almond ‘milk’ definitely does a body good.
Notes:
I found blanched almonds at my local health food store and use those most of the time (yep, I’m lazy), but you can easily blanch your almonds briefly in boiling water, then pinch the ends to slip off the skin. It’s pretty easy. And kind of fun. Although I did shoot a couple of almonds across the apartment…somewhere.
Also, because I’m often running quickly in the mornings, I like to make my creamer at night or on the weekends. I’ll soak the almonds for the day, then make the cream while I prep dinner and store it in a cute bottle or mason jar in the fridge. Almonds are best soaked for at least 7 hours, but just give them the time you have. Don’t sacrifice the ‘good’ for the ‘perfect’.

- Place almonds in a bowl and cover with filtered water. Let soak at least a few hours or overnight.
- Drain almonds and add them to your blender jar along with the 2 cups filtered water.
- Blend well, at least 30 seconds, stopping to scrape down the sides as necessary. In my high speed blender I generally do 30 seconds, scrape down the jar, then do another 15 to 30 seconds. In a regular blender it may take longer.
- Pour contents of the blender into a nut milk bag set over a large bowl. Cinch the top of the bag and milk/wring/squeeze to remove all liquid.
- Rinse your blender jar well and pour the 'milk' back in. Add the coconut oil and blend again, briefly, to combine.
- Store in a tightly sealed jar in the refrigerator for up to 5 days.
- Optional: when blending the milk with the coconut oil, add vanilla extract and dates or maple syrup for a sweet, vanilla flavored creamer.
If you don't have a nut milk bag, you can strain the pulp through a fine mesh sieve, but I find this lets some of the pulp through and results in a slightly less smooth final product.


